TRAINING RESOURCES · TATTOO DESIGN
Designing Tattoos for Fine Line Work
A fine line design is decided long before the needle touches skin. The drawing sets the scale, the gaps between lines and how much detail the skin is asked to hold. Get those choices right on paper and the tattoo has a real chance of staying crisp for years.

BEFORE A DESIGN LEAVES THE PAGE
Is it drawn at its true size on the body?
Do parallel lines have room to soften without touching?
Does one line weight lead, with others in support?
Can every small letter or detail be read at arm’s length?
Does the shape follow the curve of the placement?
Is the linework clean enough to become a stencil?
A
Scale, spacing and line weight
SCALE
Size for the detail you want
Ink settles and spreads slightly in skin over time. A tiny design packed with detail can close up, so the more intricate the idea, the more room it needs. When a client asks for something very small, simplify the drawing instead of shrinking it.
SPACING
Leave negative space
The skin between lines matters as much as the lines themselves. Script counters, petal veins and hatching all need clear gaps. If two lines nearly touch on paper, open them up so they stay separate once healed.
LINE WEIGHT
Build a hierarchy
B
Placement and designs that age well
Design for the body, not the flat page. Botanicals and script usually read best when they follow the natural line of a forearm, collarbone or ankle rather than sitting straight across a curve.
Some areas wear harder than others. Fingers, hands and feet are exposed to constant friction and movement, and delicate lines there tend to fade faster. Talk this through with the client early so they can choose between moving the design or adjusting it to suit the spot.
Designs that age well tend to share a few traits: a clear, readable outline, open spacing, restrained detail and a size that matches the complexity.
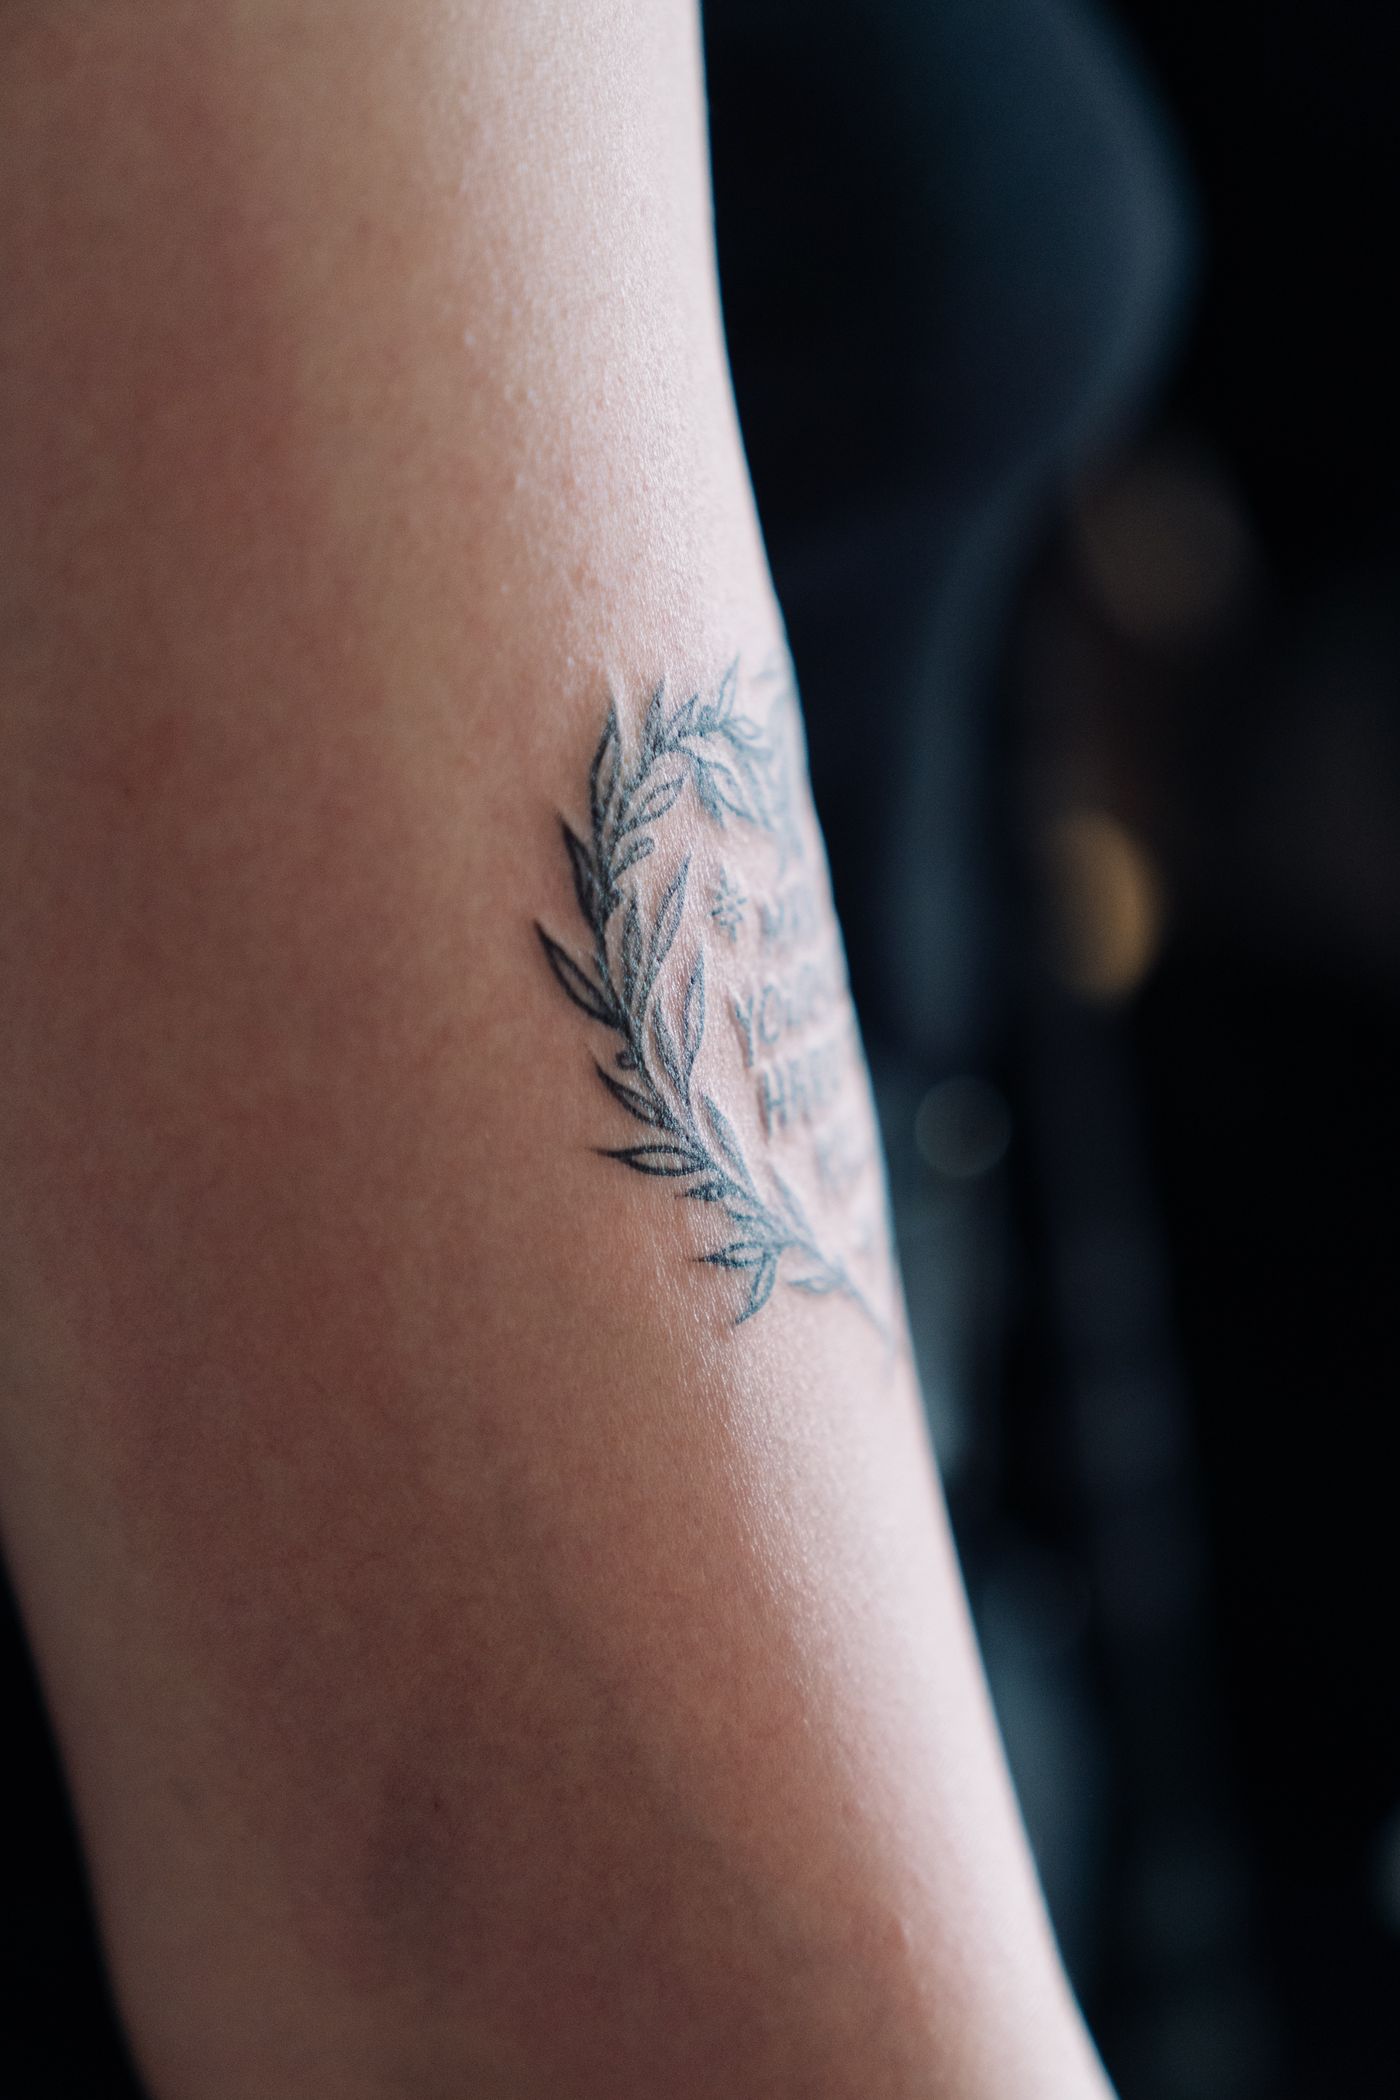
Reference image: botanical fine line work following the length of the arm.
C
Preparing the stencil
The stencil turns the drawing into a guide on skin. Any mess in the linework shows up here, so treat it as the final check on the design.
1Clean the linework. Redraw the final design as single, confident lines with no sketchy strokes or shading marks. Decide which lines carry the heavier weight.
2Confirm the size. Print or trace at the agreed dimensions and hold it against the placement before transferring.
3Transfer to stencil paper. Check that fine details have come through clearly and are not doubled or broken.
4Prepare the skin and apply. Follow hygienic preparation, press the stencil evenly and let it dry fully so it won’t smear. See Tattoo Hygiene & Safety Basics.
5Check it in natural posture. Ask the client to stand or relax the limb, then look at it again. Skin that looked straight while stretched can shift once it relaxes.
D
Learning to design for skin
RELATED READING
Fine Line Tattoo Techniques Explained
A Guide to Tattoo Needles for Fine Line Work
Questions about which course fits your drawing background? Contact us.